how to make usb connector
USB connectors are essential components in today's digital age. They allow us to connect various devices such as smartphones, cameras, and printers to our computers, providing a seamless way to transfer data and charge our devices. While we often take USB connectors for granted, creating one from scratch is a complex process that requires precision and attention to detail. In this article, we will delve into the intricacies of making a USB connector from start to finish, guiding you through each step to create your very own USB connector.
Gathering the Necessary Materials
The first step in making a USB connector is to gather all the necessary materials. You will need a male USB connector, a female USB connector, a USB cable, a soldering iron, solder, wire cutters, and a helping hand tool. It is important to use high-quality materials to ensure the durability and reliability of the USB connector. The male and female USB connectors should be of the same standard, such as USB 2.0 or USB 3.0, to ensure compatibility with different devices.
Once you have gathered all the materials, it is essential to create a clean and organized workspace. Make sure to have good lighting and a well-ventilated area, as soldering can produce fumes. Having a clean workspace will help you stay organized and focused throughout the process of making a USB connector.
Preparing the USB Cable
The next step in making a USB connector is to prepare the USB cable. Start by cutting the USB cable to the desired length, ensuring that it is long enough to reach from one device to another. Once the cable is cut, carefully strip the outer insulation to expose the inner wires. USB cables typically have four wires - red (power), white (data-), green (data+), and black (ground). Use the wire cutters to trim the wires to the appropriate length, and then carefully strip the insulation from the individual wires.
After the wires are exposed, it is crucial to identify and separate them. Use a multimeter to test for continuity and ensure that the wires are correctly identified. Once the wires are properly identified and separated, it is time to tin the exposed ends of the wires using a soldering iron and solder. Tinning the wires will make it easier to attach them to the USB connectors later on.
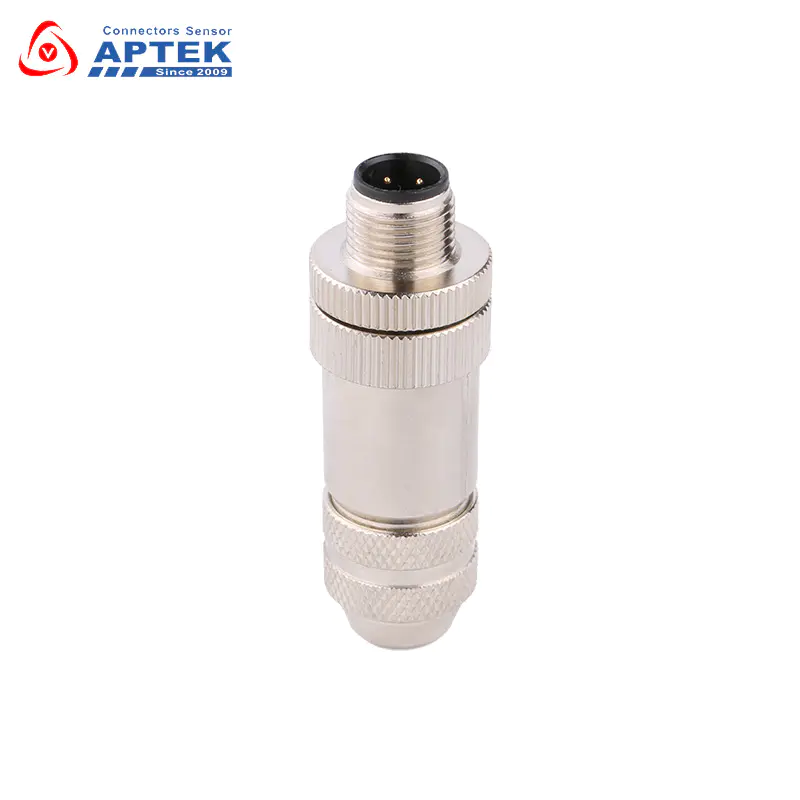
Assembling the Male USB Connector
With the USB cable prepared, the next step is to assemble the male USB connector. Start by carefully inserting the tinned wires into the respective terminals of the male USB connector. The red wire should be connected to the VCC terminal, the white wire to the D- terminal, the green wire to the D+ terminal, and the black wire to the GND terminal. Use the soldering iron to attach the wires to the terminals, ensuring a secure and reliable connection.
Once the wires are soldered to the terminals, it is essential to insulate them to prevent any short circuits. Use heat shrink tubing or electrical tape to cover the exposed wires and terminals, providing a protective barrier against electrical interference. After insulating the wires, carefully assemble the male USB connector, ensuring that all the components fit together snugly.
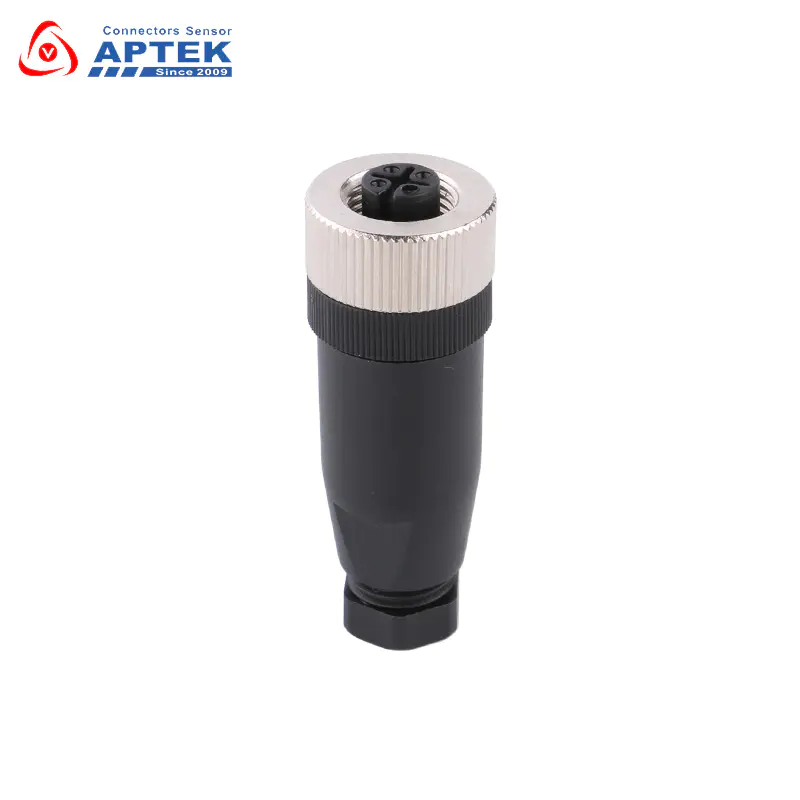
Assembling the Female USB Connector
After assembling the male USB connector, the next step is to assemble the female USB connector. The process for assembling the female USB connector is similar to that of the male connector. Start by carefully inserting the tinned wires into the respective terminals of the female USB connector, making sure to match the colors of the wires with the corresponding terminals - red to VCC, white to D-, green to D+, and black to GND.
Use the soldering iron to secure the wires to the terminals, creating a strong and reliable connection. Once the wires are soldered, insulate them using heat shrink tubing or electrical tape to protect against electrical interference. Assemble the female USB connector, ensuring that all the components fit together securely and without any loose connections.
Testing and Quality Assurance
With both the male and female USB connectors assembled, it is time to test the USB connector for functionality and quality. Use a multimeter to check for continuity and ensure that there are no short circuits or loose connections. Connect the USB connector to a computer and a compatible device, such as a smartphone or external hard drive, and test for data transfer and charging capabilities.
During testing, it is crucial to pay attention to any signs of overheating, electrical interference, or malfunction. If any issues are detected, carefully inspect the USB connector for any loose connections or soldering defects. Address any issues immediately to ensure the safety and reliability of the USB connector.
In summary, making a USB connector from scratch involves gathering the necessary materials, preparing the USB cable, assembling the male and female USB connectors, and testing for functionality and quality. While the process may seem complex, with patience and attention to detail, anyone can create their very own USB connector. Whether for personal use or as a hobbyist project, making a USB connector is a rewarding endeavor that deepens understanding of the technology we rely on every day.